In this blogpost I will show you how to install WSL 2 with Ubuntu 20.04 and setup ROS noetic. This is an update of ??? where the same is shown for WSL 1, Ubuntu 18.04, and ROS melodic.
Update Windows 10
A recent version of Windows 10 needs to be installed for WSL 2 to be available. If you are in doubt, press Windows Key + R, type winver, and press OK. Version 20H2 or later is recommended for optimal performance.

To update to the latest version, open the settings menu.
Install the WSL 2 and Ubuntu 20.04 on Windows
To install the WSL 2 on Windows, follow this guide. In case you already have WSL installed, the guide also contains instructions on how to update an existing installation to WSL 2.
When your installation has finished, you can verify if everything is setup correctly by running wsl -l -v in a powershell terminal. This will print all installed distributions and their wsl versions. Make sure that you are using Ubuntu 20.04 and Version 2 is selected in the last column.
$ wsl -l -v
  NAME            STATE           VERSION
* Ubuntu-20.04    Stopped         2
Install ROS
Since WSL is based on ubuntu, you can follow the official ros installation guide for ubuntu by the word.
sudo sh -c 'echo "deb http://packages.ros.org/ros/ubuntu $(lsb_release -sc) main" > /etc/apt/sources.list.d/ros-latest.list'
curl -sSL 'http://keyserver.ubuntu.com/pks/lookup?op=get&search=0xC1CF6E31E6BADE8868B172B4F42ED6FBAB17C654' | sudo apt-key add -
sudo apt update
sudo apt install -y ros-noetic-desktop python3-rosdep
sudo rosdep init
rosdep update
If you want to source ros noetic automatically for ever bash session, then
echo "source /opt/ros/noetic/setup.bash" >> ~/.bashrc
source ~/.bashrc
Install vscode + wsl extension (optional)
Having vscode installed with the Remote WSL extension is very convenient to edit files and launch commands from the integrated terminal.
Run a simple test
-
Start a new bash prompt and run
roscore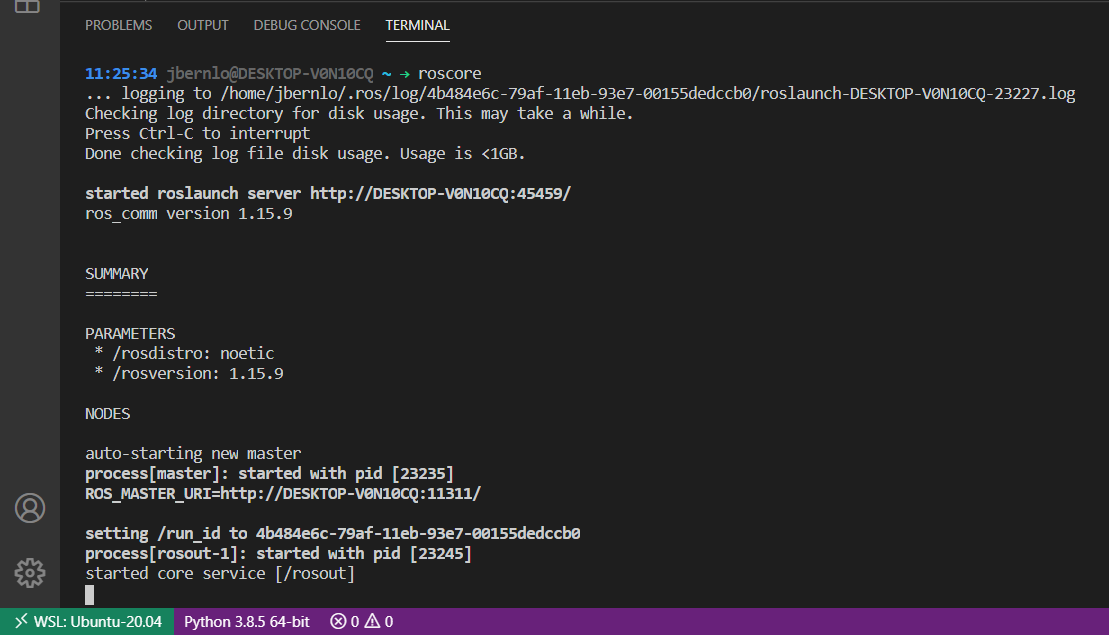
- Start a second bash prompt
- Create a new file
publish.pywith the contents#!/usr/bin/env python import rospy from std_msgs.msg import String pub = rospy.Publisher('chatter', String, queue_size=10) rospy.init_node('talker', anonymous=True) rate = rospy.Rate(10) # 10hz while not rospy.is_shutdown(): hello_str = "hello world %s" % rospy.get_time() rospy.loginfo(hello_str) pub.publish(hello_str) rate.sleep() -
Run the publisher
python publish.py - Start a third bash prompt
- Create a new file
subscribe.pywith the contents#!/usr/bin/env python import rospy from std_msgs.msg import String def callback(data): rospy.loginfo(rospy.get_caller_id() + "I heard %s", data.data) def listener(): rospy.init_node('listener', anonymous=True) rospy.Subscriber("chatter", String, callback) # spin() simply keeps python from exiting until this node is stopped rospy.spin() if __name__ == '__main__': listener() -
Run the subscriber
python subscribe.py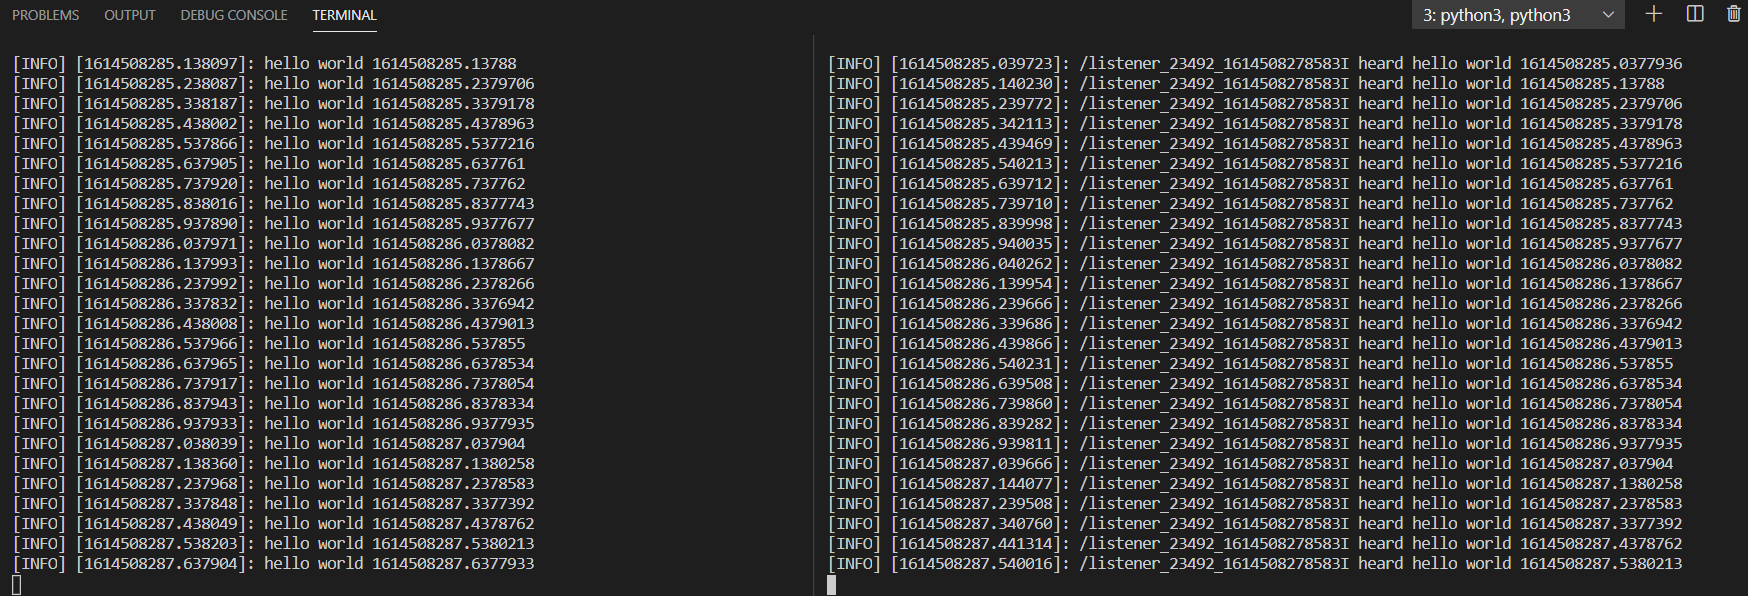
Install VcXsrv
To run applications with graphical output, you need to install an X Server on Windows. To me, VcXsrv now works best.
After you have installed VcXsrv, you also need to configure WSL to use it. To do so modify you .bashrc as follows
export DISPLAY=$(awk '/nameserver / {print $2; exit}' /etc/resolv.conf 2>/dev/null):0
source ~/.bashrc
Finally, launch VcXsrv from the start menu. You need to change the following two settings
Native openglneeds to be unchecked. Otherwise applications such as rviz do not run as expected.Disable access controlneeds ot be checked. Otherwise applications within WSL cannot access the x server.

When promted by the Windows Firewall make sure that you enable access for both private and public networks - unless you are 100% sure that you only want to use the x server when connected to private networks.
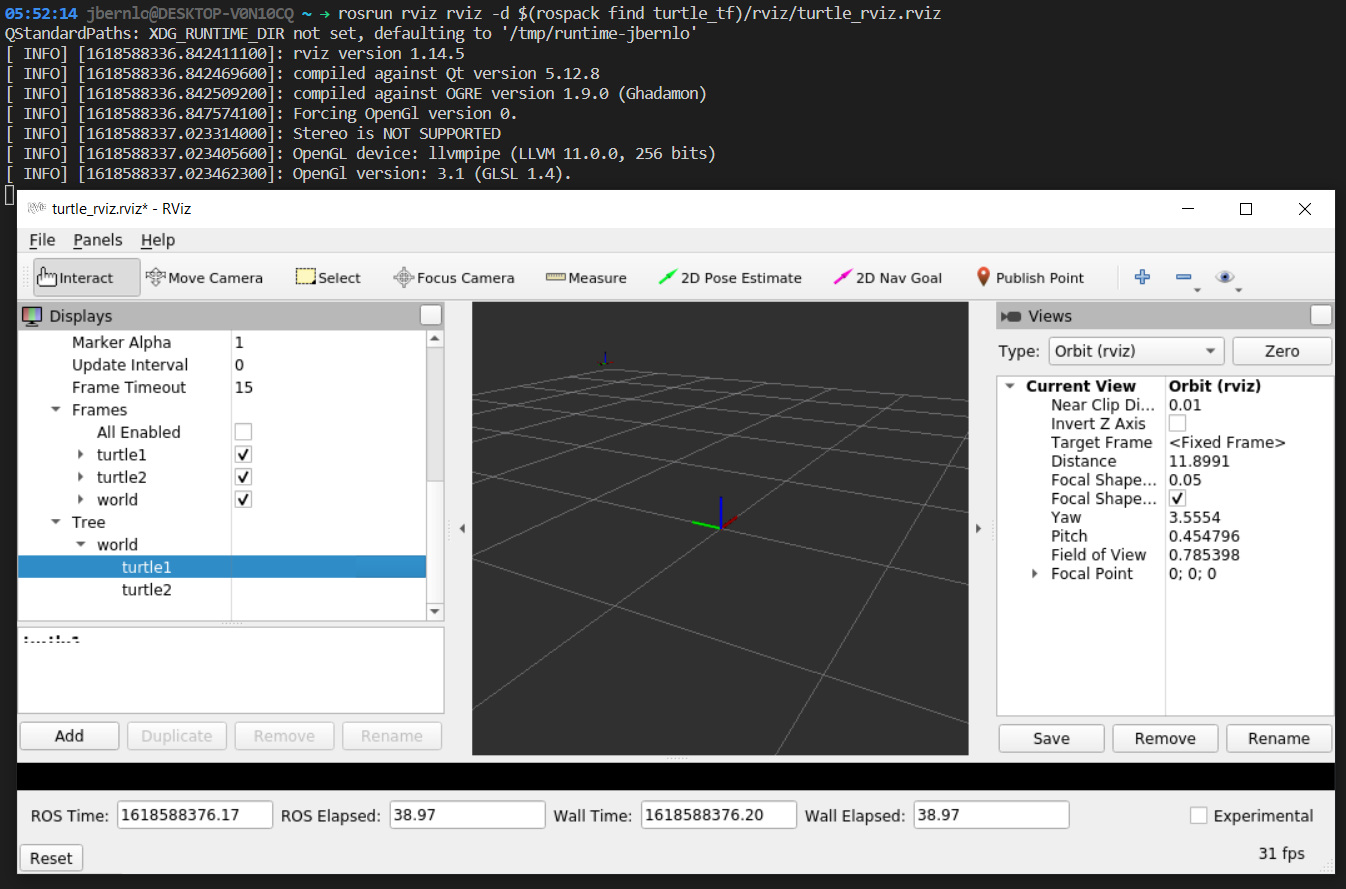
Run turtle_sim
The popular turtle_sim tutorial works fine WSL as well.
- Make sure you have an X Server installed, configured and running as described above.
- Start a new bash prompt and run
roslaunch turtle_tf turtle_tf_demo.launch
You can control the turtle by using the arrow keys by going back to the second prompt.

- Start a second bash prompt and run
rosrun rviz rviz -d `rospack find turtle_tf`/rviz/turtle_rviz.rviz